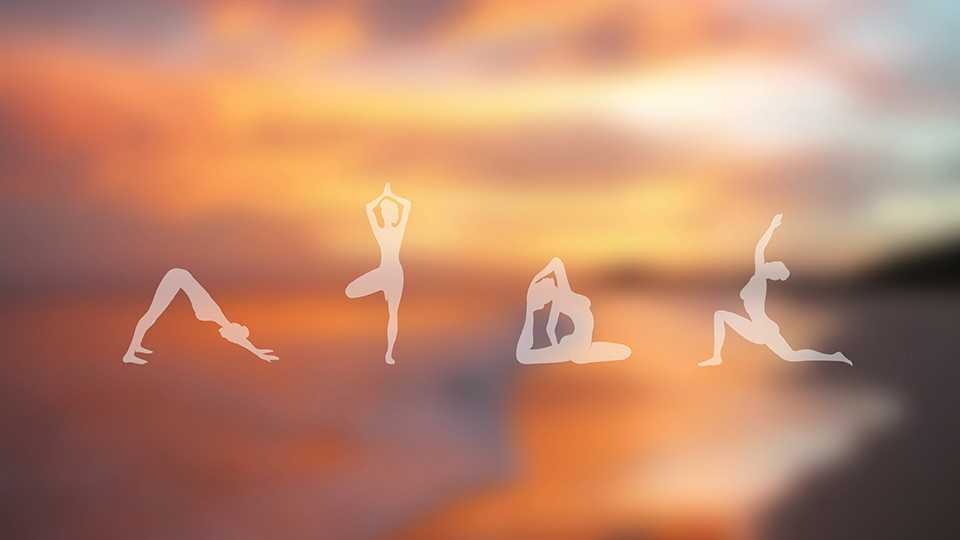
Yoga poses can help you stretch and strengthen your muscles, creating that perfect balance before jumping into a busy day or at the end of one. Unwind, warm up your muscles, get your circulation going and find moments of peace and serenity through this 15-minute yoga sequence, designed for the everyday athlete.
Let’s Get Started
Before you begin, take a few minutes to sit with your eyes closed, focusing on your breath. Breathe in and out slowly through your nose to clear your mind and prepare yourself for your yoga practice.
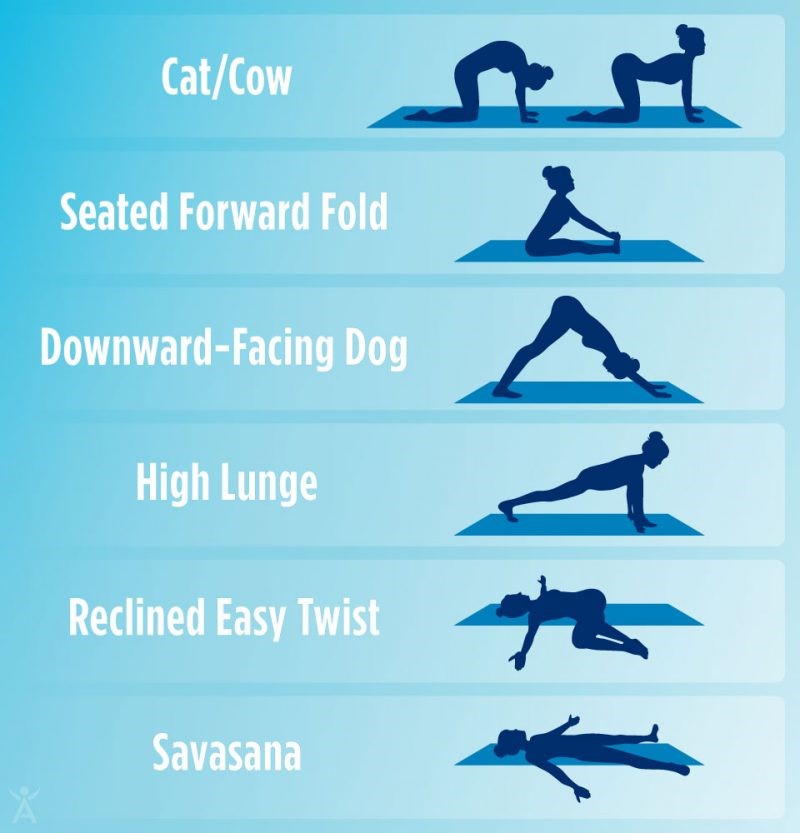
Pose 1: Cat/Cow
This is a great way to warm up your body and is more of a stretch than a pose. Cat/Cow can help relieve tension throughout your back and shoulders.
- Begin on your hands and knees, making sure your wrists are aligned directly under your shoulders and your hips are aligned directly under your knees.
- On an inhale, arch your back, dropping your belly toward the floor and taking your gaze toward the sky.
- Next, exhale and curve your spine, tucking your chin toward your chest, you will feel a stretch throughout your shoulders and upper back.
- Continue to do these movements with your breath for as long as you’d like to warm up the body, remembering to inhale and exhale.
Pose 2: Seated Forward Fold
- From your hands and knees, shift your seat to the ground and extend your legs out in front of you.
- Sit up straight and reach your arms overhead on an inhale toward the ceiling, then on an exhale, reach out and over toward your toes. Try to keep your feet flexed. You should feel a stretch in your hamstrings and in the back of your legs.
- Hold this pose for about 30 seconds, release and then take the pose again. Make sure to inhale and exhale through your nose while in the pose.
Modification: If your hamstrings are tight, bend your knees a little (or place a rolled-up blanket under your knees) and continue to reach for your toes.
Pose 3: Downward-Facing Dog
- Come on to your hands and knees. Curl your toes under, lift your hips and straighten your legs, bringing more weight into your heels.
- Start to relax your shoulders away from your ears, feeling your shoulder blades stretch down your back. Spread your fingers out wide, putting a little more pressure into your index finger and thumb to relieve any tension in your wrists.
- Make sure to breathe slowly and steadily in this pose because it can feel challenging at first. After five or six breaths, start to walk your feet toward your hands and come to a standing forward fold.
Modification: If this pose is too much or you have injured wrists, drop to your forearms.
Pose 4: High Lunge
- From a standing forward fold, slightly bend your knees and step one leg back so you are on the ball of your back foot. Keep your front leg bent so that your knee is over your ankle at a 90-degree angle, making sure your knee does not come past your ankle.
- Place your hands on either side of your foot, or maybe drop down onto your forearms (with both hands to the inside of your leg if you have the flexibility). Hold this pose for five to 10 breaths, then switch legs and take the other side.
- Return to a standing forward fold when finished with side two.
Modification: Drop to your back knee, using a yoga block or blanket under your arms for extra support.
Pose 5: Reclined Easy Twist
- Lie on your back and bring both knees up to the chest.
- Take your arms out wide into a ‘T’ and keep both shoulders on the ground as you drop your knees off to one side and gaze in the opposite direction.
- Hold for one to two minutes, then draw your knees back to your chest and lower them to the other side.
Final Pose: Savasana
The final pose in every yoga practice or sequence is the most important. Not to mention, it feels amazing!
- To practice this pose, simply lay on your back with your eyes closed and your arms at your sides, palms facing up.
- During your yoga practice, you focus your awareness on deepening your breath. Savasana is the only pose where you simply relax and let your breath return to normal. Use this time to relax and reconnect.
- Stay in savasana for as long as you need!
Did you like this workout?
Now that you’ve completed it once, save this picture and you can easily do it on the go next time!